Wednesday, September 5, 2018

Using Zebras for film correct exposure

The zebra pattern is a guide for choosing the right brightness in a shot.
Learn where the Zebra button is on the HDR AX2000

When you select the zebra ON, the brightness level appears on the screen. It will not be recorded.
There should be some lines in your scene for it to be bright enough to record.
Lines in the brightest areas, say on the face, is a good indicator.

You can set the threshold of the Zebras to 70% or 100% or other values. The lower the number, the less sensitive they are-- useful for different complexions.. A lower value is better for people with darker complexions. Start by exposing at 70%

In the below image, it shows the lightest part of the scene, the sky.


If there are lines everywhere, or on more than half of the image, your scene is probably overexposed. Close down the IRIS, or change your aperture to AUTO.


Zebras covering the entire face means there is not enough shadow to show depth in the face.

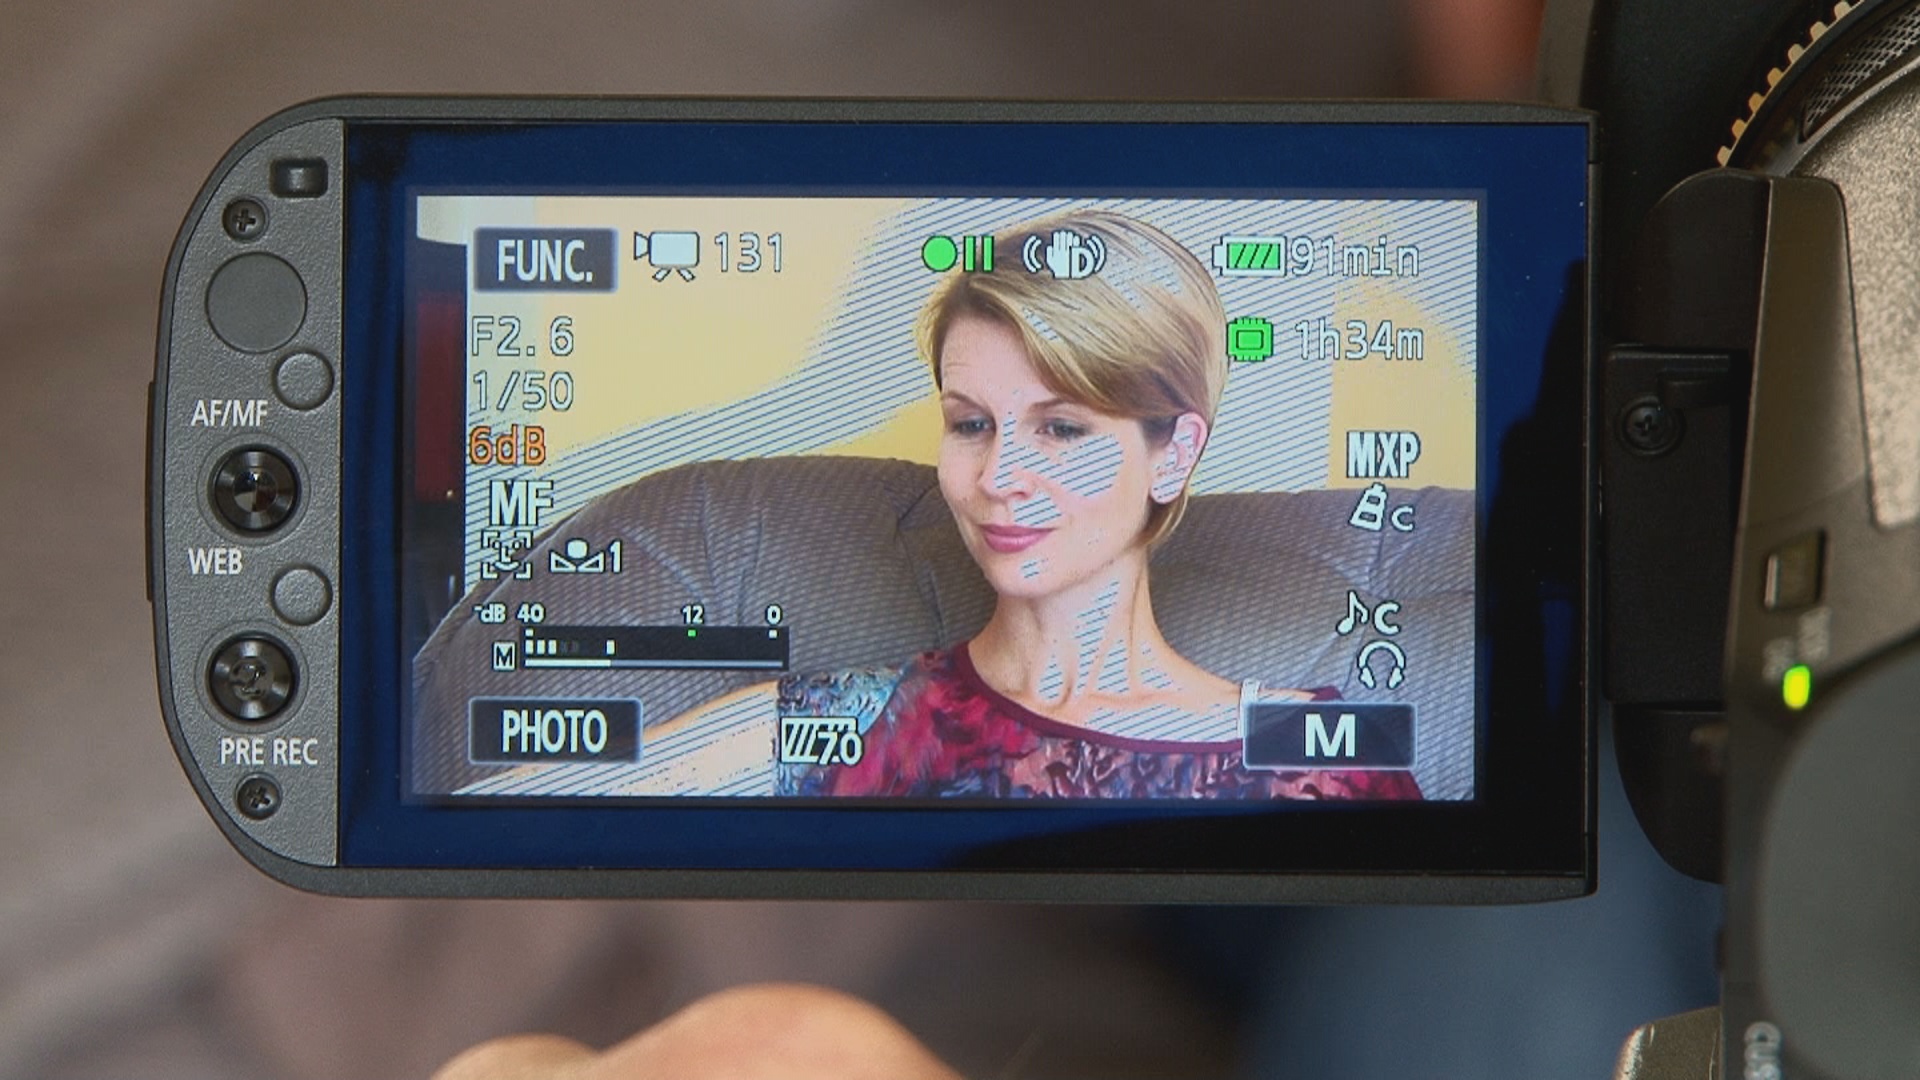
Here's a good exposure. the IRE (zebra values) is set on 70%


Thursday, April 13, 2017

Why We Fight excerpt- Documentary and b-roll


Why We Fight from AX1 Entertainment on Vimeo.


Opening montage has many shots that construct the subjectivity of a character: Look at the place at 3:40 where we see Wilton Sezker sitting in the train. Even before you see him, you hear his voice. He is speaking about his experience in first person, but not in the shot where he is in the train. The camera pans to the window outside, and you see what he sees. NEXT, there is a shot of him being interviewed, continuing on with his thoughts. NOte farther along in the documentary -- at 6:46 min, you will see a new shot of him, - an XCU.

Wednesday, April 12, 2017

PRODUCTION Bibles - DOCUMENTARY

things you should OR could have in your PRODUCTION BINDERS 

WHO/WHAT: Who is your person place or thing? 
  • Some information about it or them. You can include some printed material
  • Look at their website if there is one and find out more about the subject.
  • Listen to their music (if a musician). Look at their work (an artist).

TALENT RELEASE FORMS 

LOCATION RESEARCH- the real world
  • Where are you going to do the interview? 
  • Go there Take pictures and print them. Look at them again. What is interesting there or problematic. 
  • While you are there, listen. Will you have sound issues? 
  • What is the lighting like? - What lights do you need?
  • Include any photos or drawings, sketches, notes.
  • Maybe the address, information about parking 
INTERVIEW QUESTIONS

FLOOR PLAN 
make a floor plan for interviewing- where camera, lights, subject goes. 

Other things about interviewing:
SHOT LIST- what are the other shots you want or need to get?
  • What will be your establishing shots 
  • what is the best wide angle?
  • This can be an informal list- but think about what shots will help build your story.
  • remember the 5-shot rule
  • remember- TV loves closeups 
  • Get 80-90% STATIC or FIXED shots (you are not moving the camera)
  • motivates any dynamic shots (pans, tilts and other moves)
  • Get a STATIC shot at the start and finish of any pans or tilts
TREATMENTS/SYNOPSIS
  • - all versions
  • - all notes
CONTACT NAMES AND NUMBERS of your talent and any other people helping you

MUSIC TITLES AND SOURCES 

CREDITS AND TITLES for your film
ALL notes on your way along. 

EQUIPMENT AND CHECK OUT INFORMATION

(this list is non-exhaustive- you might think of other things)

---------------------------------------
More reminders:
  • Check your batteries work and are correct when you check out
  • Check your lav mic is working
  • When editing, figure your talking head will be no more than 20% of the screen time. 

Have a good time, and the best of luck with it all!!!